Box-spring cover tutorial
 |
| New quilt with new box-spring cover |
I had done a number of Google searches looking for a pattern or tutorial and couldn't find one. So I thought I would go ahead and make one and took photos as I was figuring out how to make it.
First, I started with an old fitted sheet. I had one hanging around the cabin, but if you don't you can pick one up for a relatively low cost at Goodwill or Value Village. Pull off the mattress and put it on the box spring.

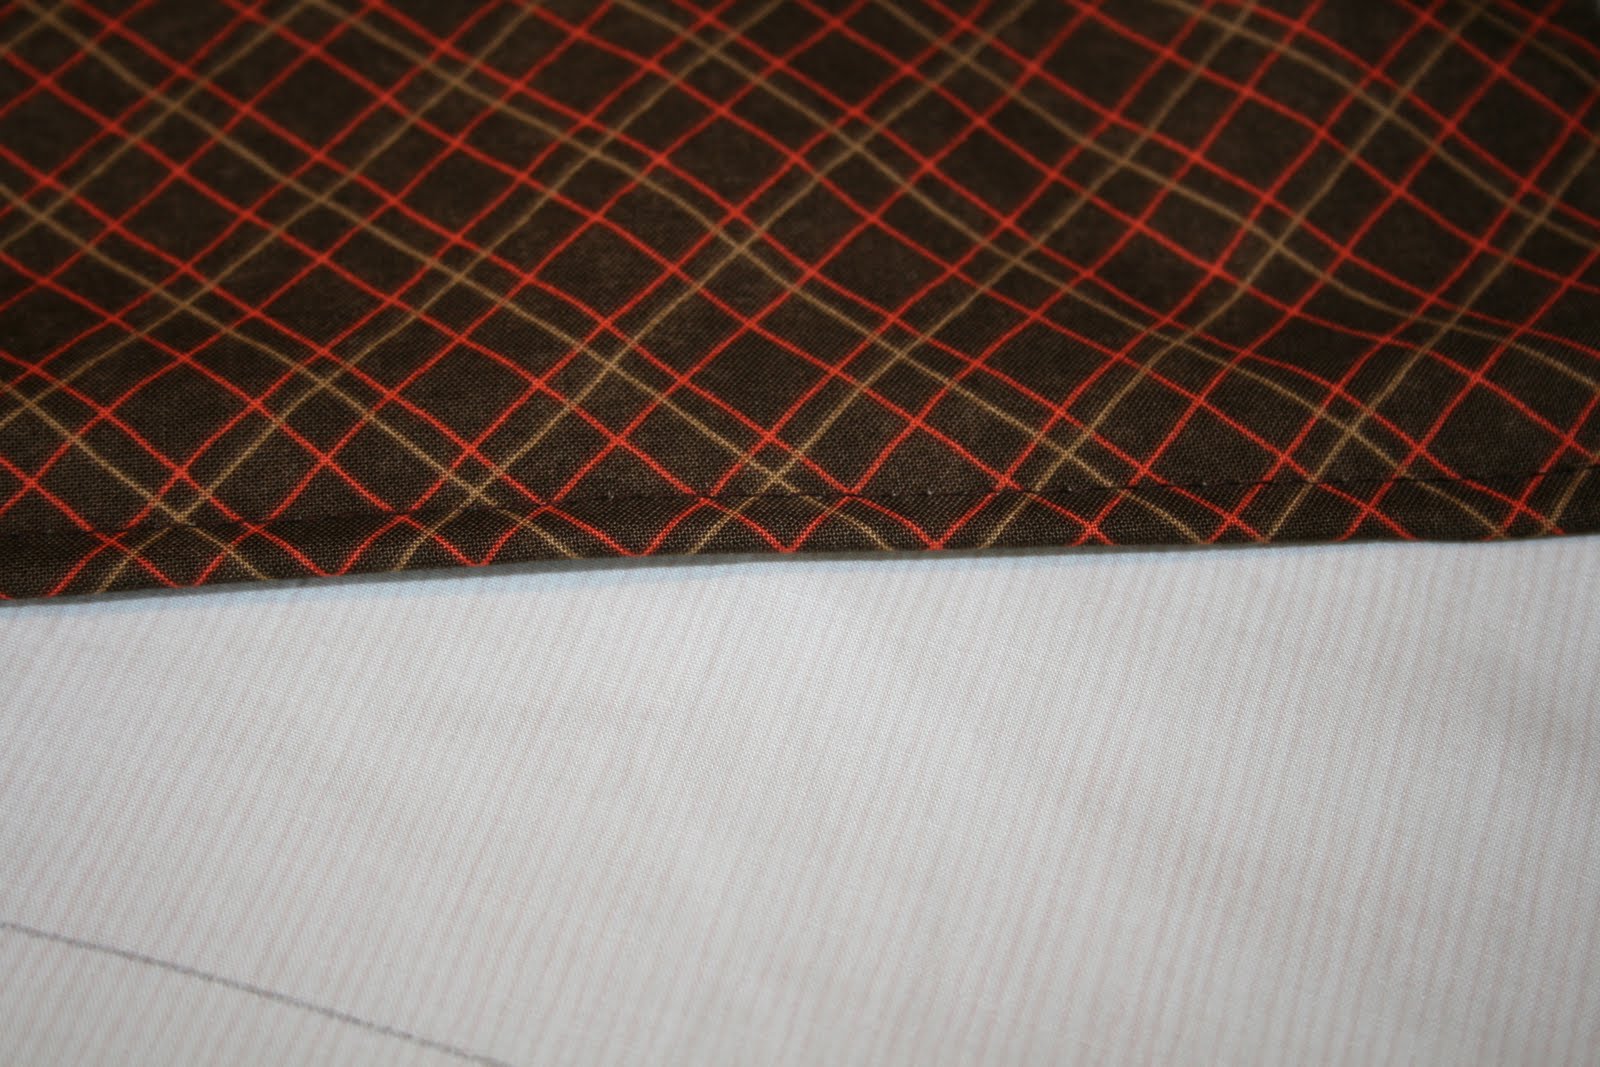
Then mark lines on the fitted sheet where the feature fabric will attach the top of the sheet. To ensure that the sheet doesn't show once the mattress was put back on, mark ~3" from the edge of the box spring.

The Material
The amount of fabric you need depends on the size of bed you're making this for. This is going on a queen size bed, so the longest piece I would need would be about 95" (80" for each side + 8" overlap for a 4" minimum on each end + extra yardage (7") for shrinkage. I also wanted some extra for a throw pillow, so in the end I bought 3.5 yards. Typically I don't prewash, but I did with this material. I was pretty confident that at some point I am going to want to take this off and wash it, so it needed to be pre-shrunk so that it would still fit on the box spring after washing.
After the laundry, I first made sure I had 88 lineal inches of fabric and cut there, setting the extra fabric aside. Then cut the 88" piece into 3 pieces length-wise. This minimizes piecing, which was important with the material that I was using, but may be less important for your choice.
My material was 44" wide, so I was able to able to cut three 14" wide pieces (once I removed the selvedges). Meaning I ended up with 3 pieces -- each 88" x 14".

Then finish all four edges of each piece with a tight zig-zag stitch. You don't want it to fray when washed at some point in the future and you don't want any threads to end up hanging down below the bed where people could see them.
Then remove the fitted sheet from the box spring and sew the side panels in place (right sides of fabric to to right side of sheet so that it folds over neatly). You should sew along the lines that you had previously marked on the sheet (3" from the edge).

This is the part that you have to feel your way through ... at the top of the bed, I simply tuck the material in and stitched, at the bottom, however, unless you have a footboard, you want to take a little more care so that you don't have bulges.

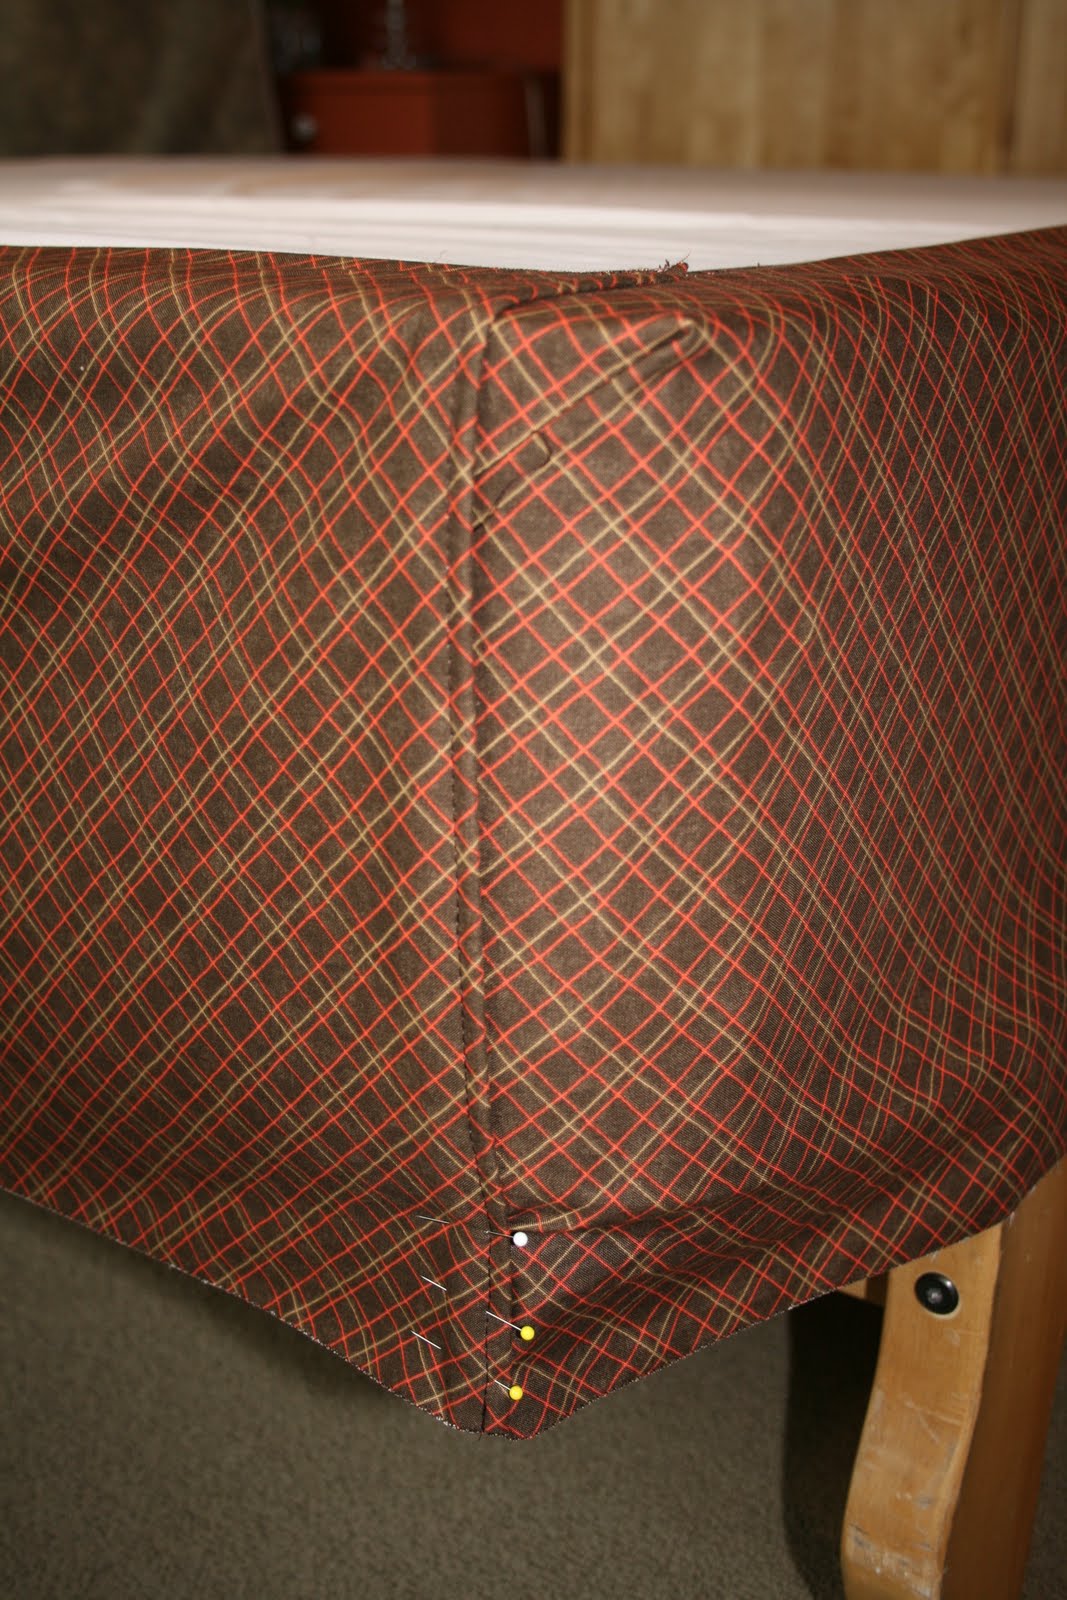
First, pin the end in a continuous line from the top. Then bring the extra material over from the right (like a hospital corner on a sheet) and pin it. Then removed it from the bed and stitched it ... as seen in the photo below:

Stitching down the vertical as well as the diagonal.
Repeat for the other side.
Then take the 3rd panel that you cut, which will be go along the base of the box spring. Finish one end ... I simply rolled it on itself several times and then stitched.


Then pin it to the box spring and measure where to finish the other end.
 |
| pinned on to get feel for where to make final stitches |
 |
| measuring where to finish the other end |
Once measured properly, stitch onto the fitted sheet -- the bottom of the panel will still be hanging loose. Put the bottom of the fitted sheet back on the bed (leave the top of the sheet loose).
Pin the bottom panel to the finished ends of the sides. Note in the photo below how the pinning actually sits under the box spring slightly -- this shouldn't be an issue getting off as the top of the sheet should only be sitting on loosely, not tightly.

Fit and pin both ends.
My bed has slats, so I was able to stop at this point, simply tuck the 3" of excess material in under the slats and I was done. If you don't have slats, you may want to purchase some lightweight elastic to stitch around ... you don't need anything tight, just a little bit of tension to keep it from drooping under the bed.
In the end ... while I was really happy with how the box spring came out, I wasn't happy with how it looked with the quilt that I had made for the bed ;-(. So I am in the process of making another slightly smaller quilt that will sit at the bottom of the bed and bring a little depth to the top, not just the bottom.

Still to be quilted, but believe this will help bring it all together -- and I will use some of the extra material I had from the box spring cover to bind the quilt and make a throw pillow.
And since it's a cabin, you can NEVER have too many quilts on a bed ;-).
Let me know if I can add any clarity on this ... it wasn't the easiest tutorial to write ...
All the best
Lisa
Great tutorial, Lisa! I need to make one of these myself, so I appreciate your taking the time to write it all down for me!
ReplyDeleteThanks for the great tutorial. I started making one for my bed at our beach house last summer, but was having trouble getting the corners to look right so I gave up. After seeing your photos I think I may be able to finish it.
ReplyDeleteI found your blog thanks to Sarah. I like your tutorials. I will be making Jenna's quilt. I will be stopping by often.
ReplyDeleteSarah, bless her heart, thought we might enjoy visiting with you.
ReplyDeleteYep, she's right on the money.
I'll only taken a quick peak but know that I'll become a Follower and pass your url along to my daughter.
Very cool ideas, Lisa.
hugs
Gerry
Hi There,I saw you on Sarah's blog today. I have a question. Mr. R and I will be visiting Seattle for our anniversary in two weeks. Can you give me some suggestions for quilt shops to visit? He's pretty good about indulging my obsession, even when we are on vacation. thank you, diane
ReplyDelete